Javascript sketchpad
Friday, 5th June 2020 ◆ Artist found in a chest (6)I'm planning another silly minigame for my site, but it requires the player to do a bit of drawing. I only need two tools: pencil and fill, so I threw together a simple drawable canvas in Javascript. The libraries I found online were a little too heavy handed for my needs.
It's very simple, but it gets the job done. I've called it MiroJS and have stuck the code on GitHub if you want to use it.
You can also try it out here.

I tried to implement a flood fill which would automatically close gaps in the same way I remember Flash used to.
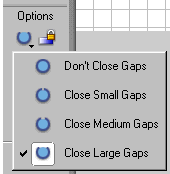
Ultimately, however, my algorithm is currently too slow, so it's disabled by default. In summary, the way it worked was:
- Clone the image into a black and white version
- Close gaps on the clone
- Flood fill on the clone, and mirror changes back to the original
Here are the steps in detail:
1. Clone the image
Make a copy of the source image, but change every pixel which is about to get filled in the original to white, and every other pixel to black. That is, black pixels are boundaries and white pixels can get filled.
This is not strictly necessary, but it simplifies matters since from now on the algorithm need only distinguish between black and white.

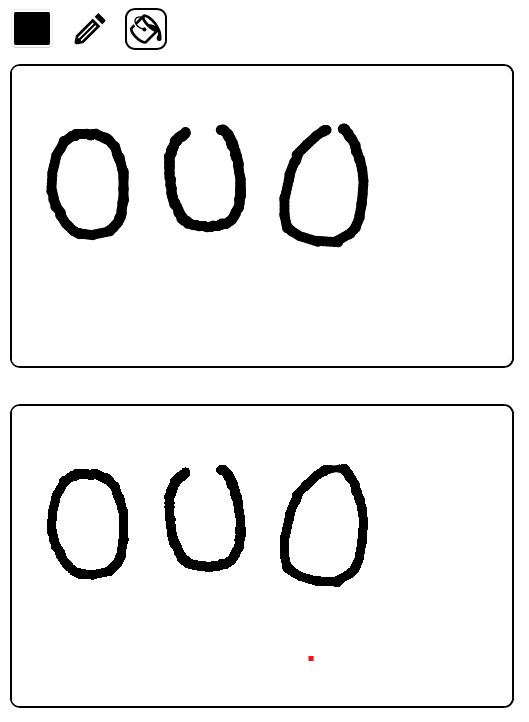
In this example, the point I've clicked on to fill is highlighted in red. The red dot is not part of the cloned image.
2. Close gaps
For every black pixel in the clone, examine a neighbourhood around that pixel. If that neighbourhood contains another black pixel which is not connected to the source black pixel, then join them with a black line.
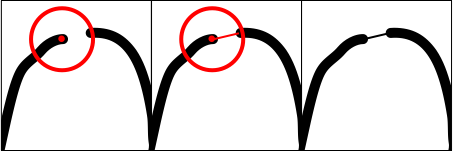
The radius of the neighbourhood corresponds to the leniency of the fill.
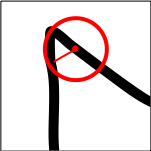
We must not connect points in the neighbourhood which are already connected, otherwise we would end up joining corners together:
Implementing that, we now have a cloned image where small gaps have been closed off:
3.Flood fill
Once that is done, we then do a normal flood fill on the clone. Additionally, whenever we colour in a pixel black on the clone, we set the same pixel with the fill colour in the original.
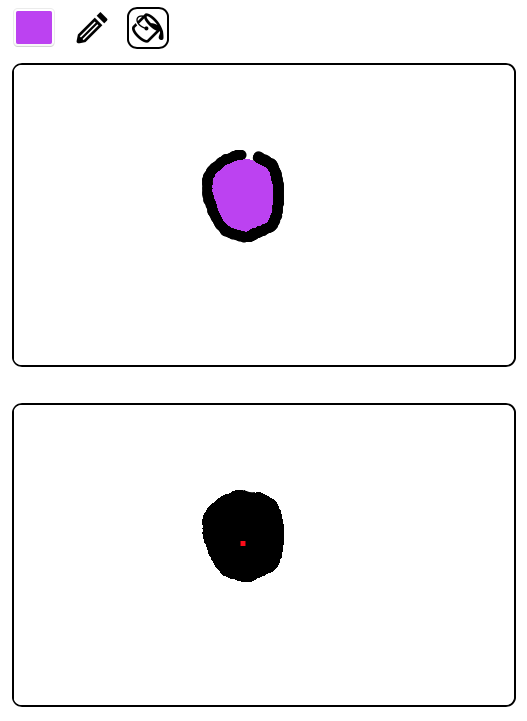
My approach was to keep a queue of pixels to paint to. When assessing a pixel, if it's white, also add its neighbours to the queue. In pseudo-code:
queue = []
for pixel in queue:
    if pixel is out of bounds:
        continue;
    if pixel is white:
        // Colour pixel in
        setColour(pixel, black)
        // Add neighbours to the queue
        queue.add(pixel + (0, 1))
        queue.add(pixel + (1, 0))
        queue.add(pixel + (0, -1))
        queue.add(pixel + (-1, 0))
Speeding things up
Hurrah! That's exactly what I wanted to achieve.
However, this is a very slow process. If there are a lot of painted pixels in the image, it takes a few of seconds to complete the fill. This is because it examines the neighbourhood around every single pixel. This is overkill, and then are plenty of improvements we can make, such as:
- We could fill outwards from the source point and only test the neighbourhood of all pixels in any walls we encounter.
- We could create a low resolution version of the image for the clone (for example an image of 1/10th the size) to make the algorithm run much faster.
- When drawing lines, we could keep an array of the points used to make up the lines. We could then test only the neighbourhood around those points.
I will try experimenting with these to see if I can get something which is fast and feels good. Let me know if you have any ideas on how to speed this up.


Comments
There are no comments yet.